Roasting coffee at home
Earlier today I wanted to make some coffee, but to my dismay I discovered I was all out of coffee! Most coffee roasters seem to be closed due to the corona pandemic!! Of course I could go out and get some stale supermarket coffe beans, but that wouldn’t really make me happy.
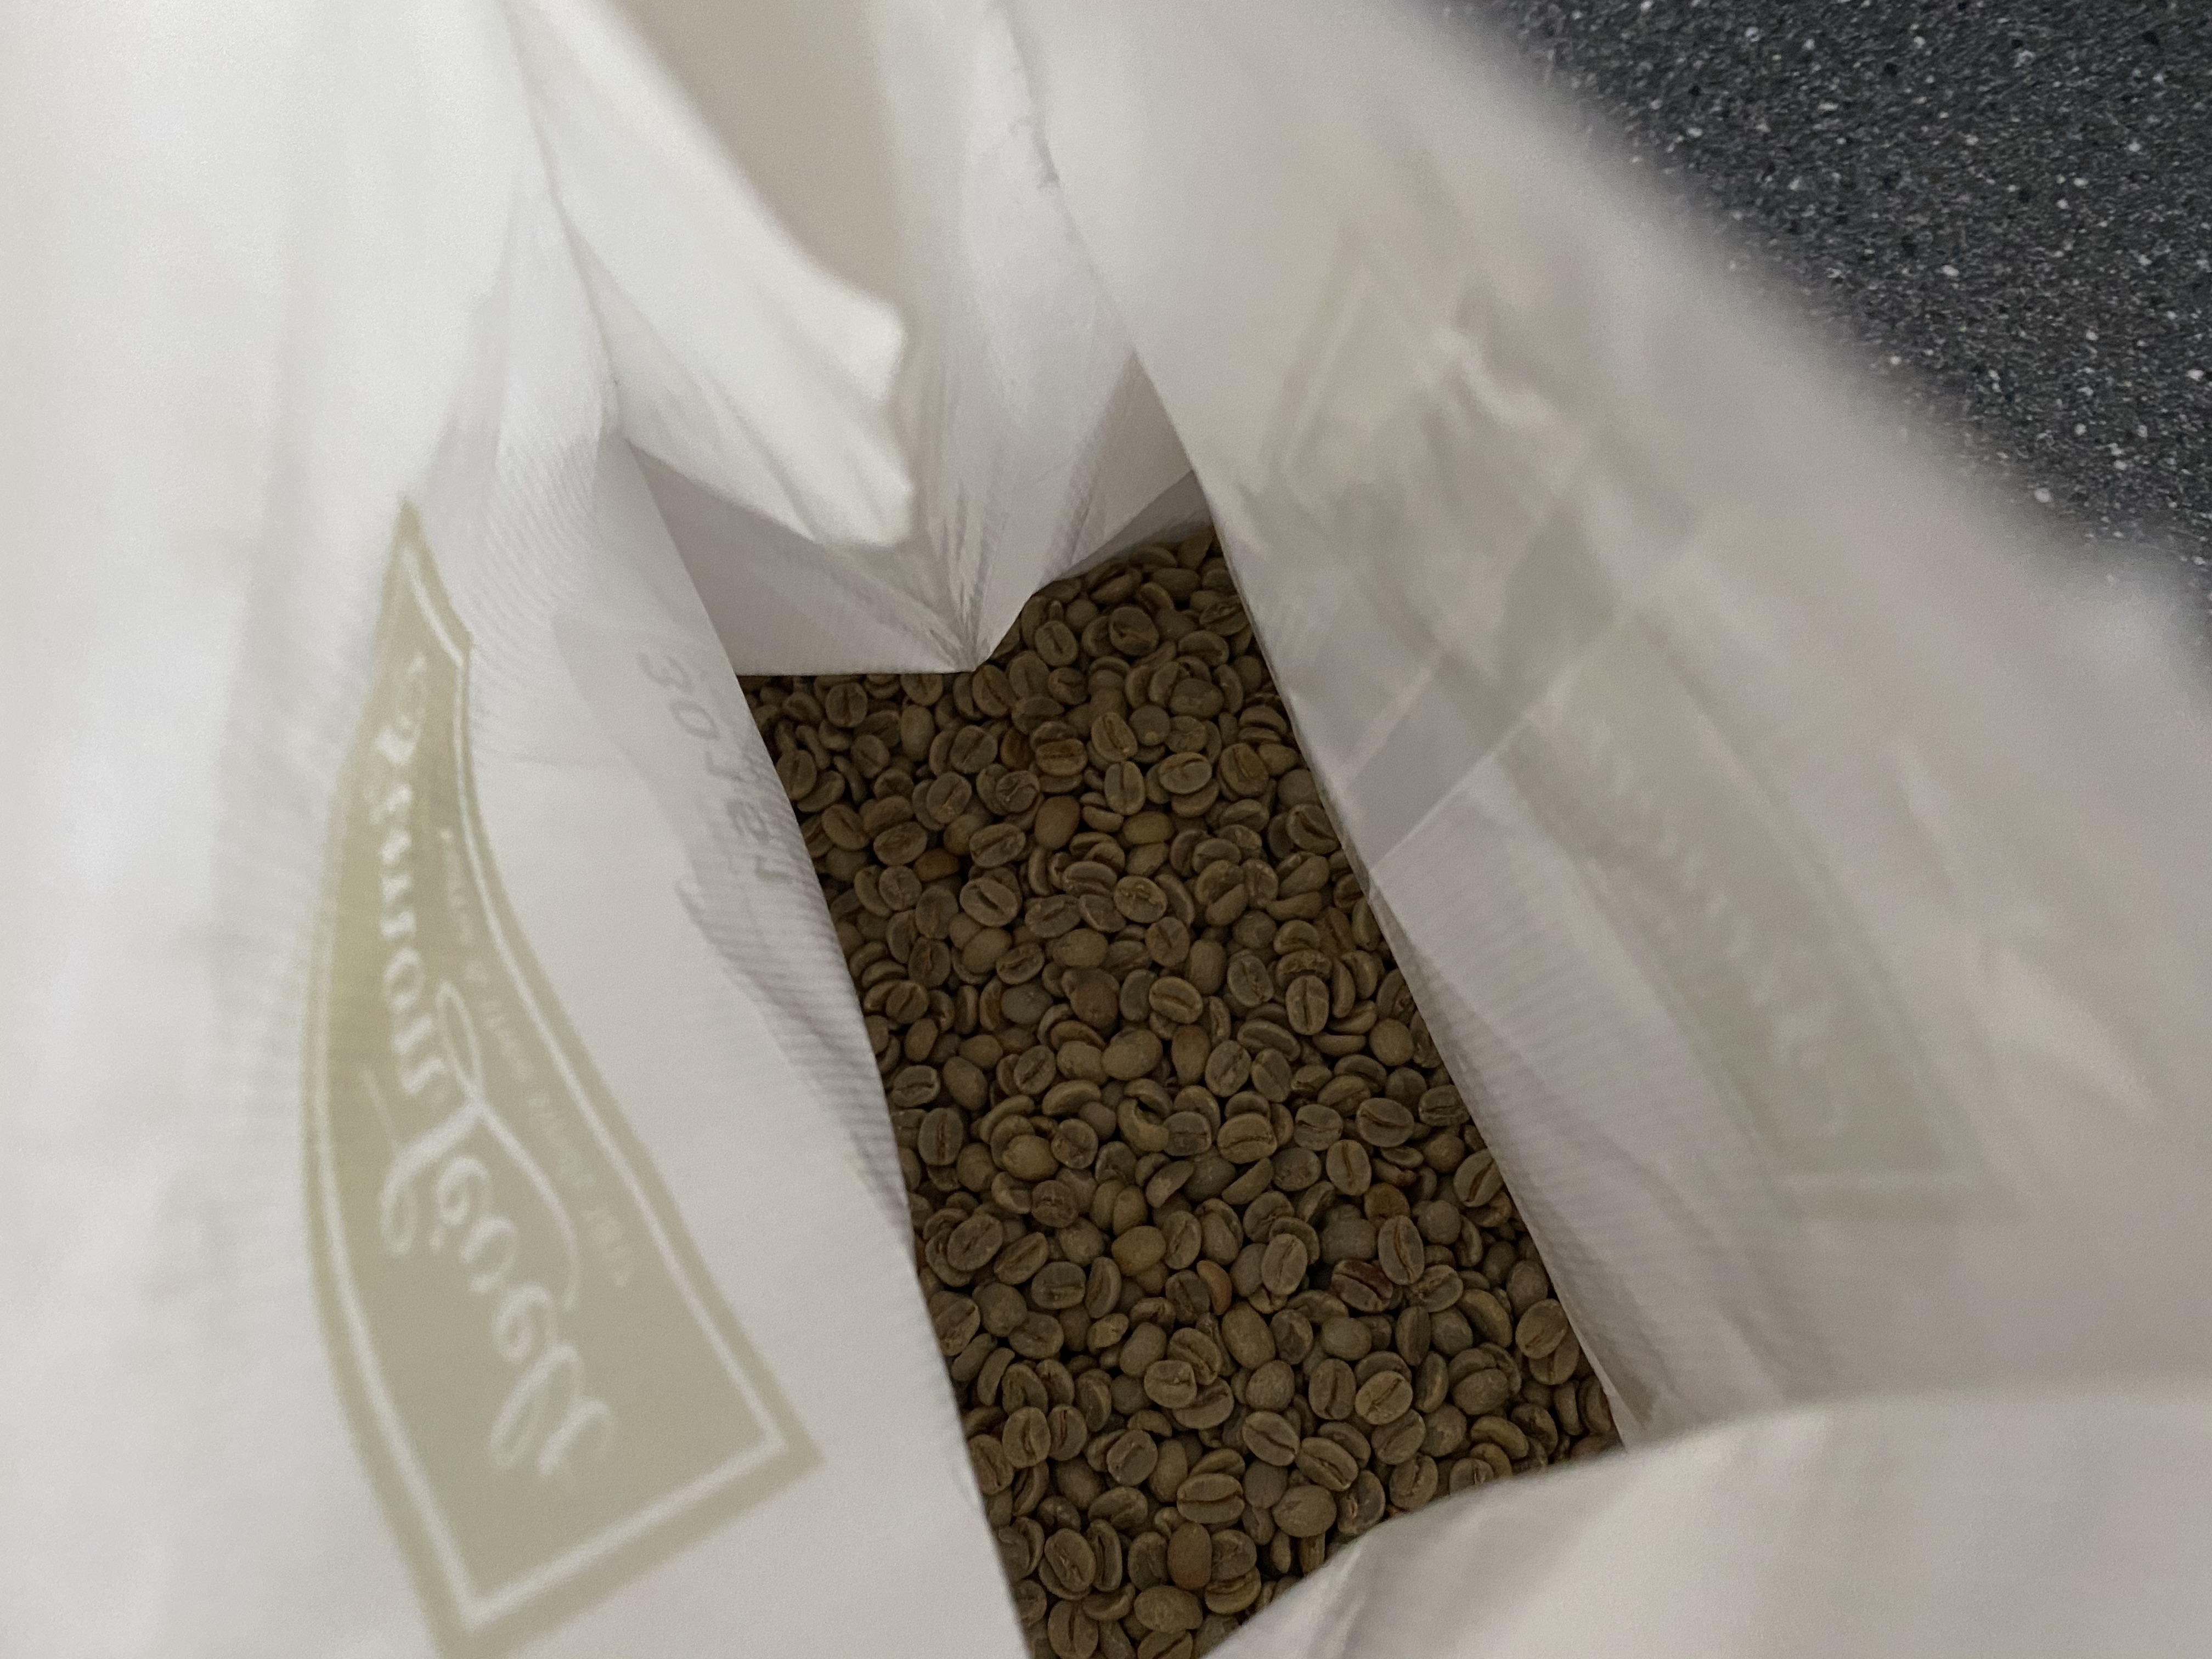
Luckily, I remembered that I still have a stash of some green coffee beans from a while ago! So let’s roast some coffee at home!
Preparation
I chose to go for the simple method: roasting in the oven. Other alternatives include using a popcorn maker or forking over some cash for a proper coffee roaster.
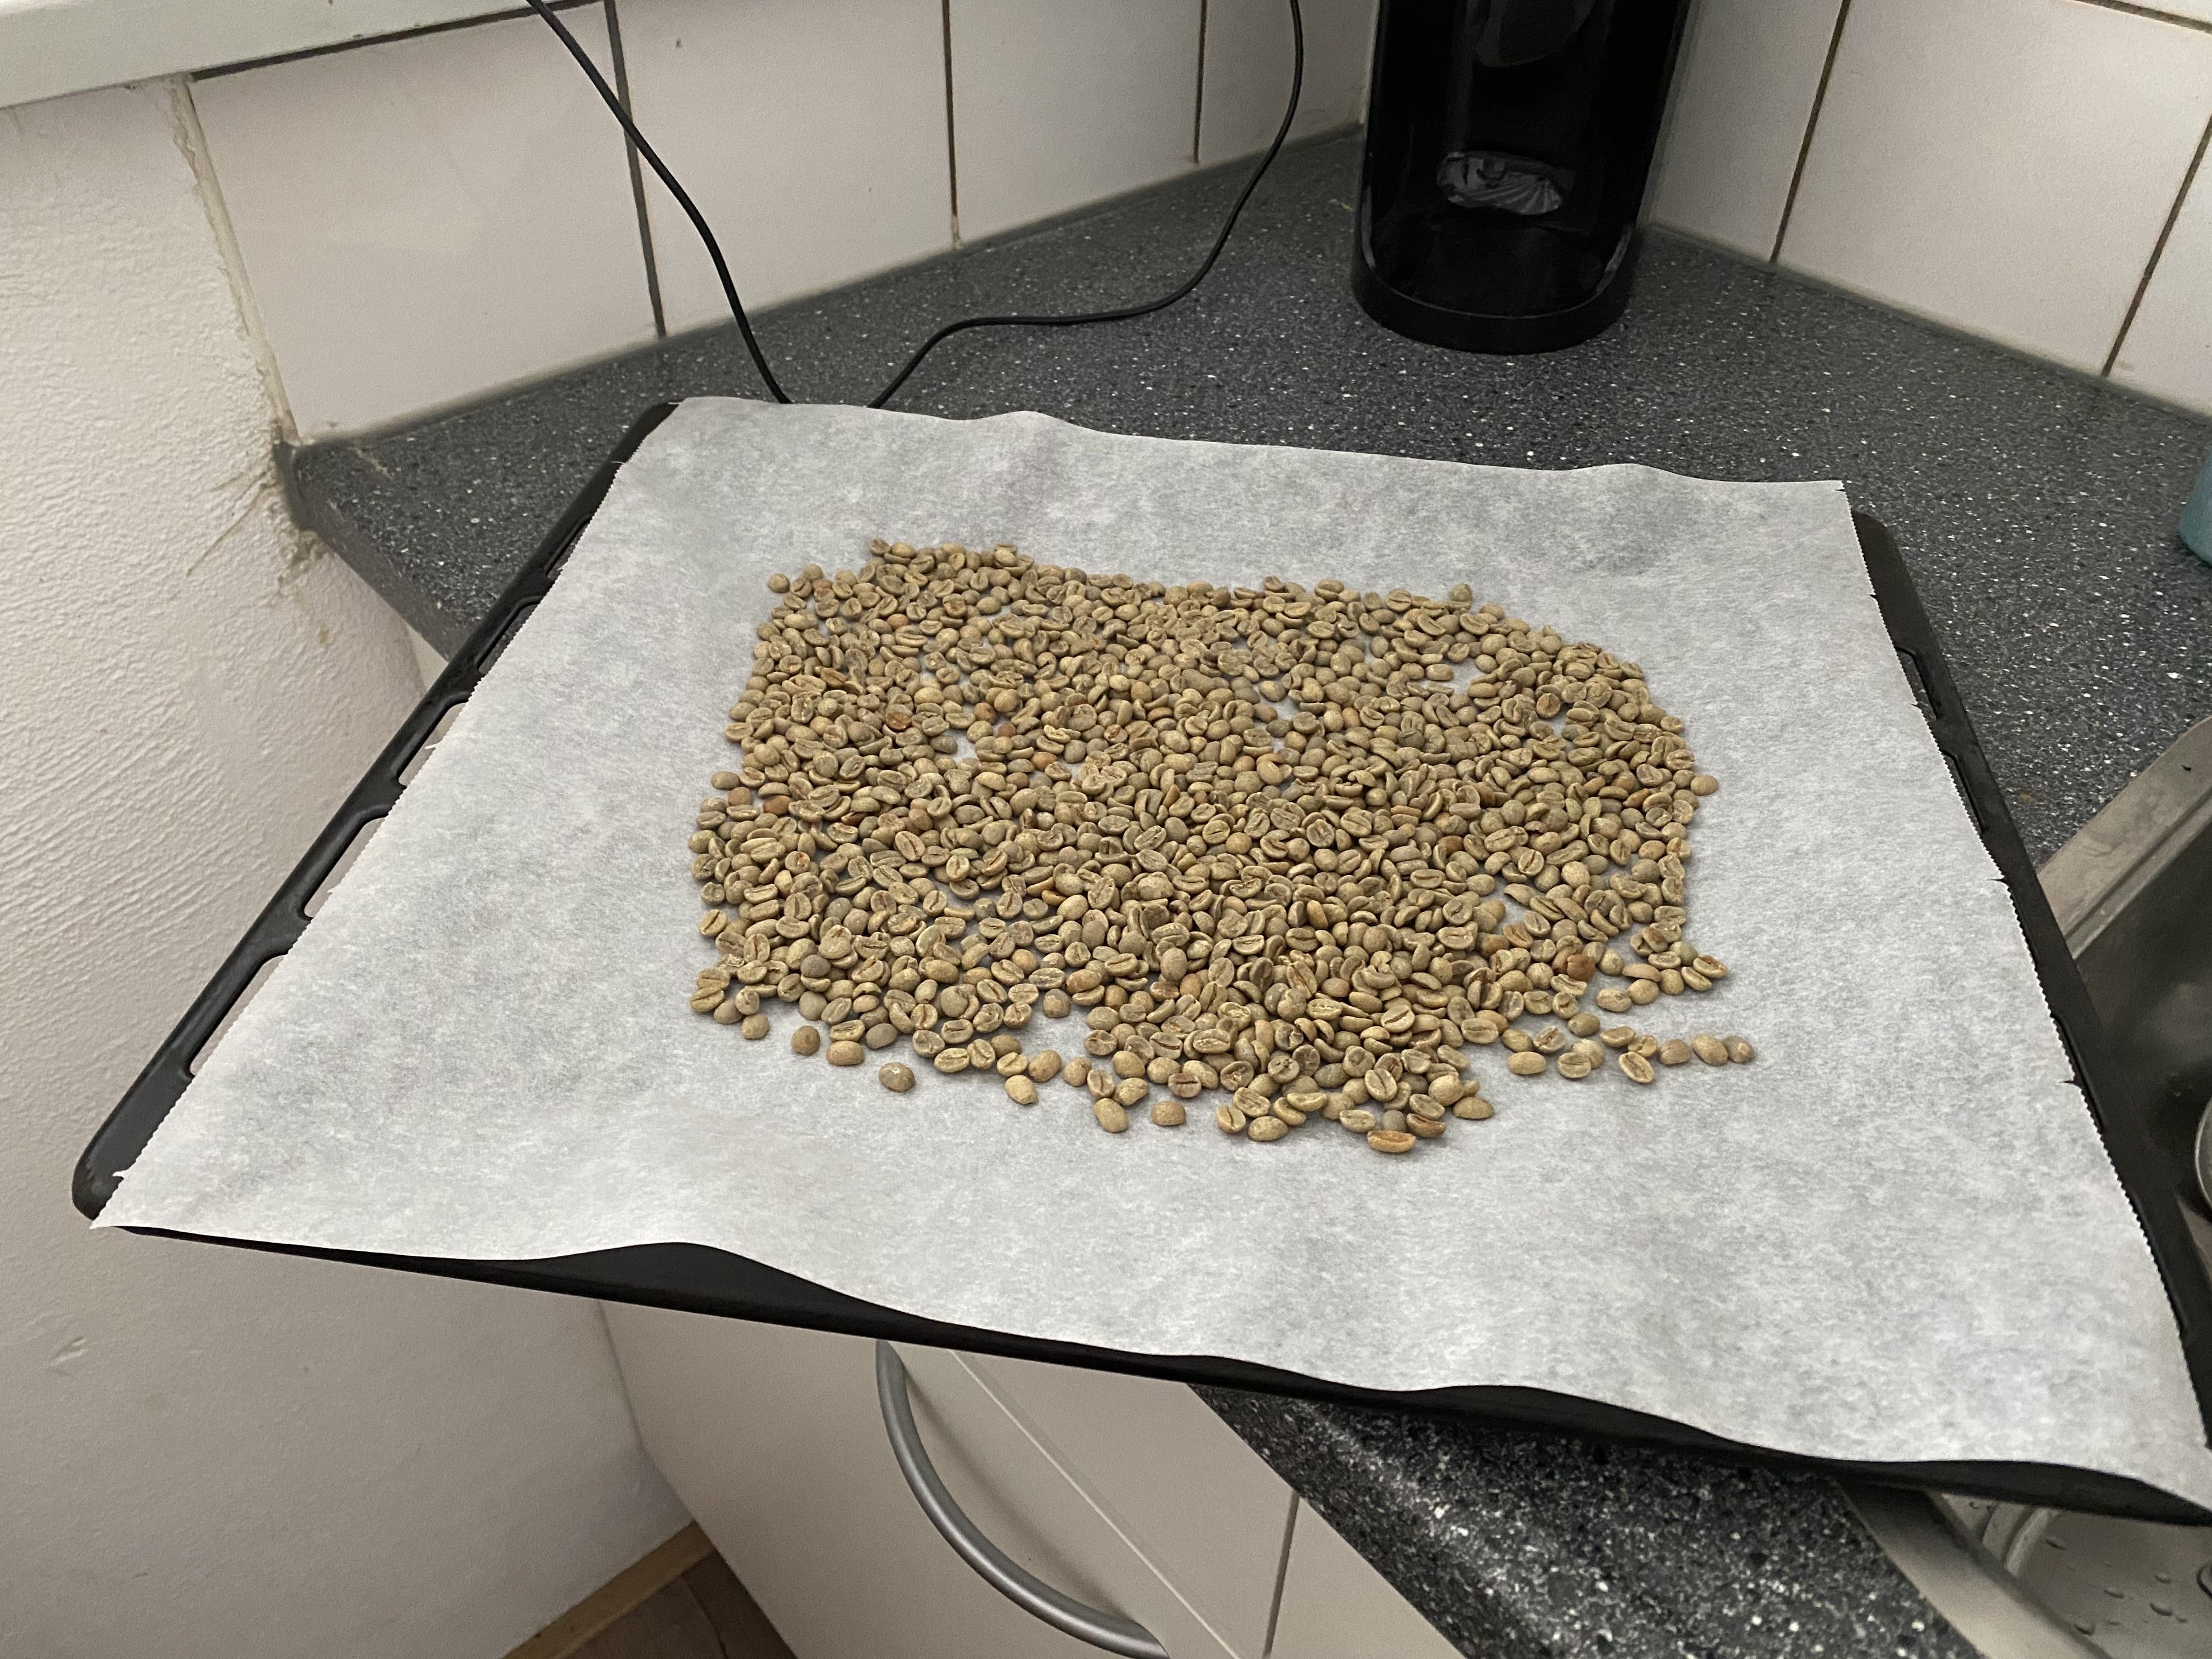
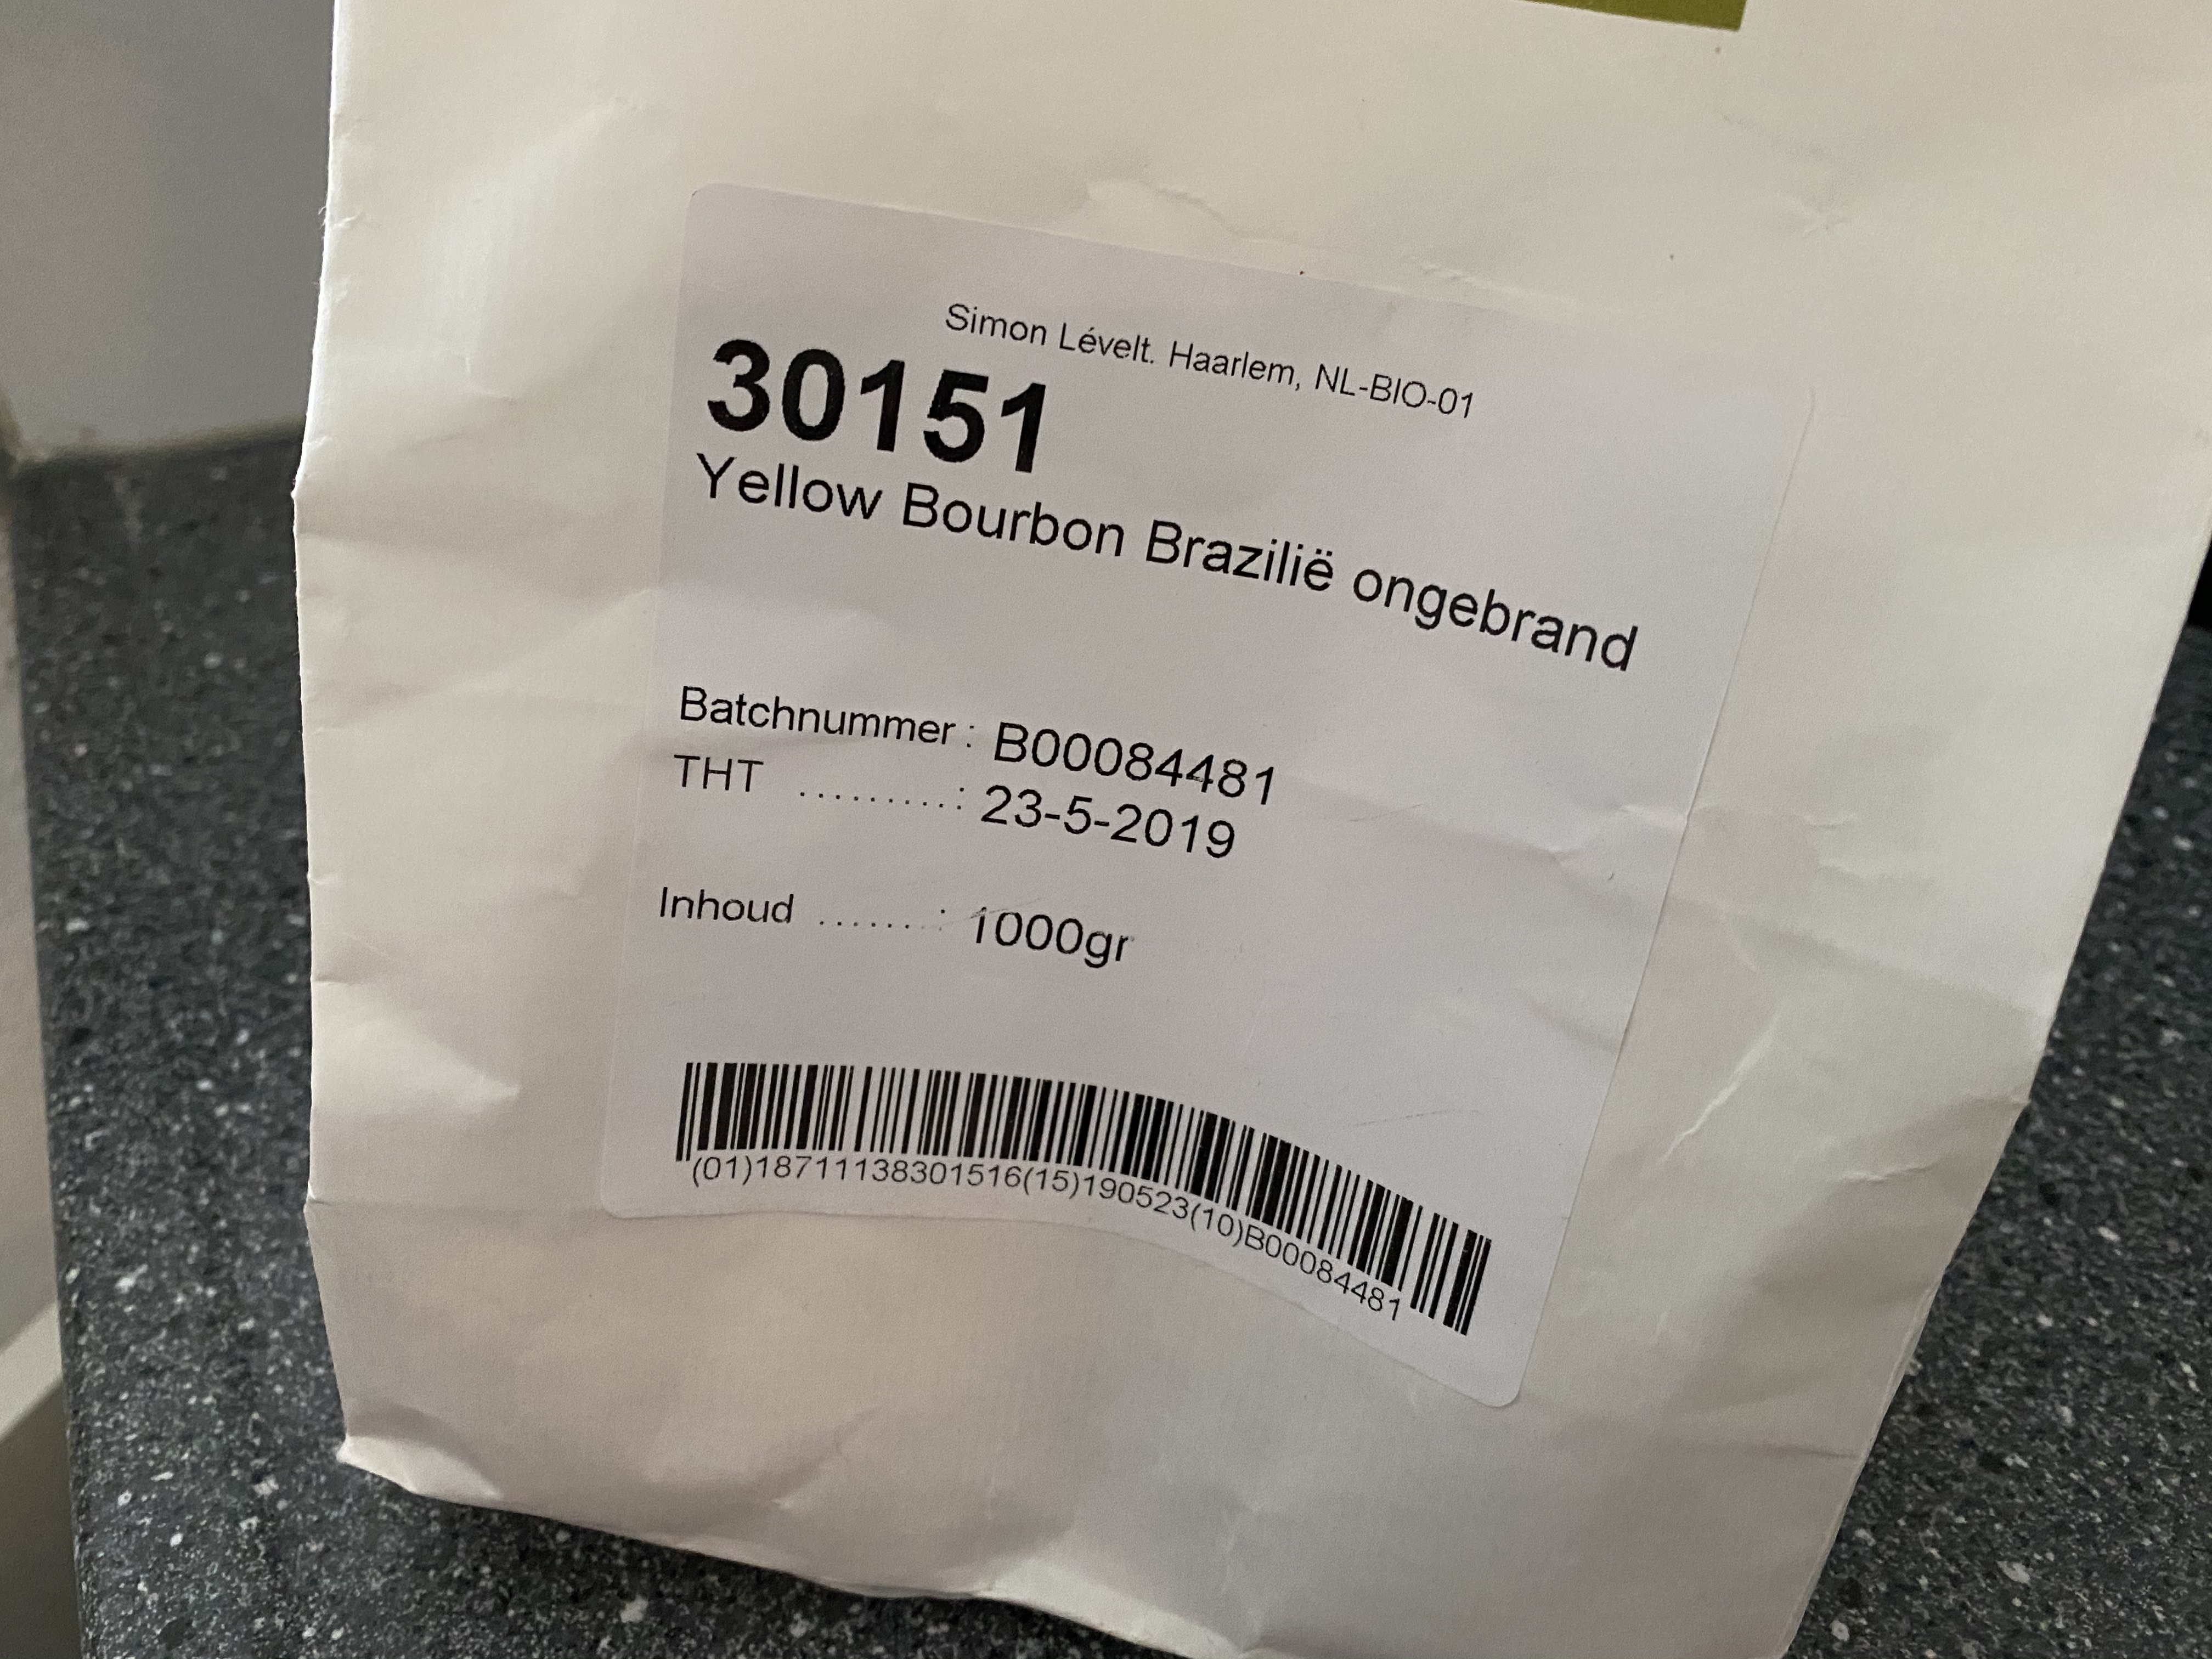
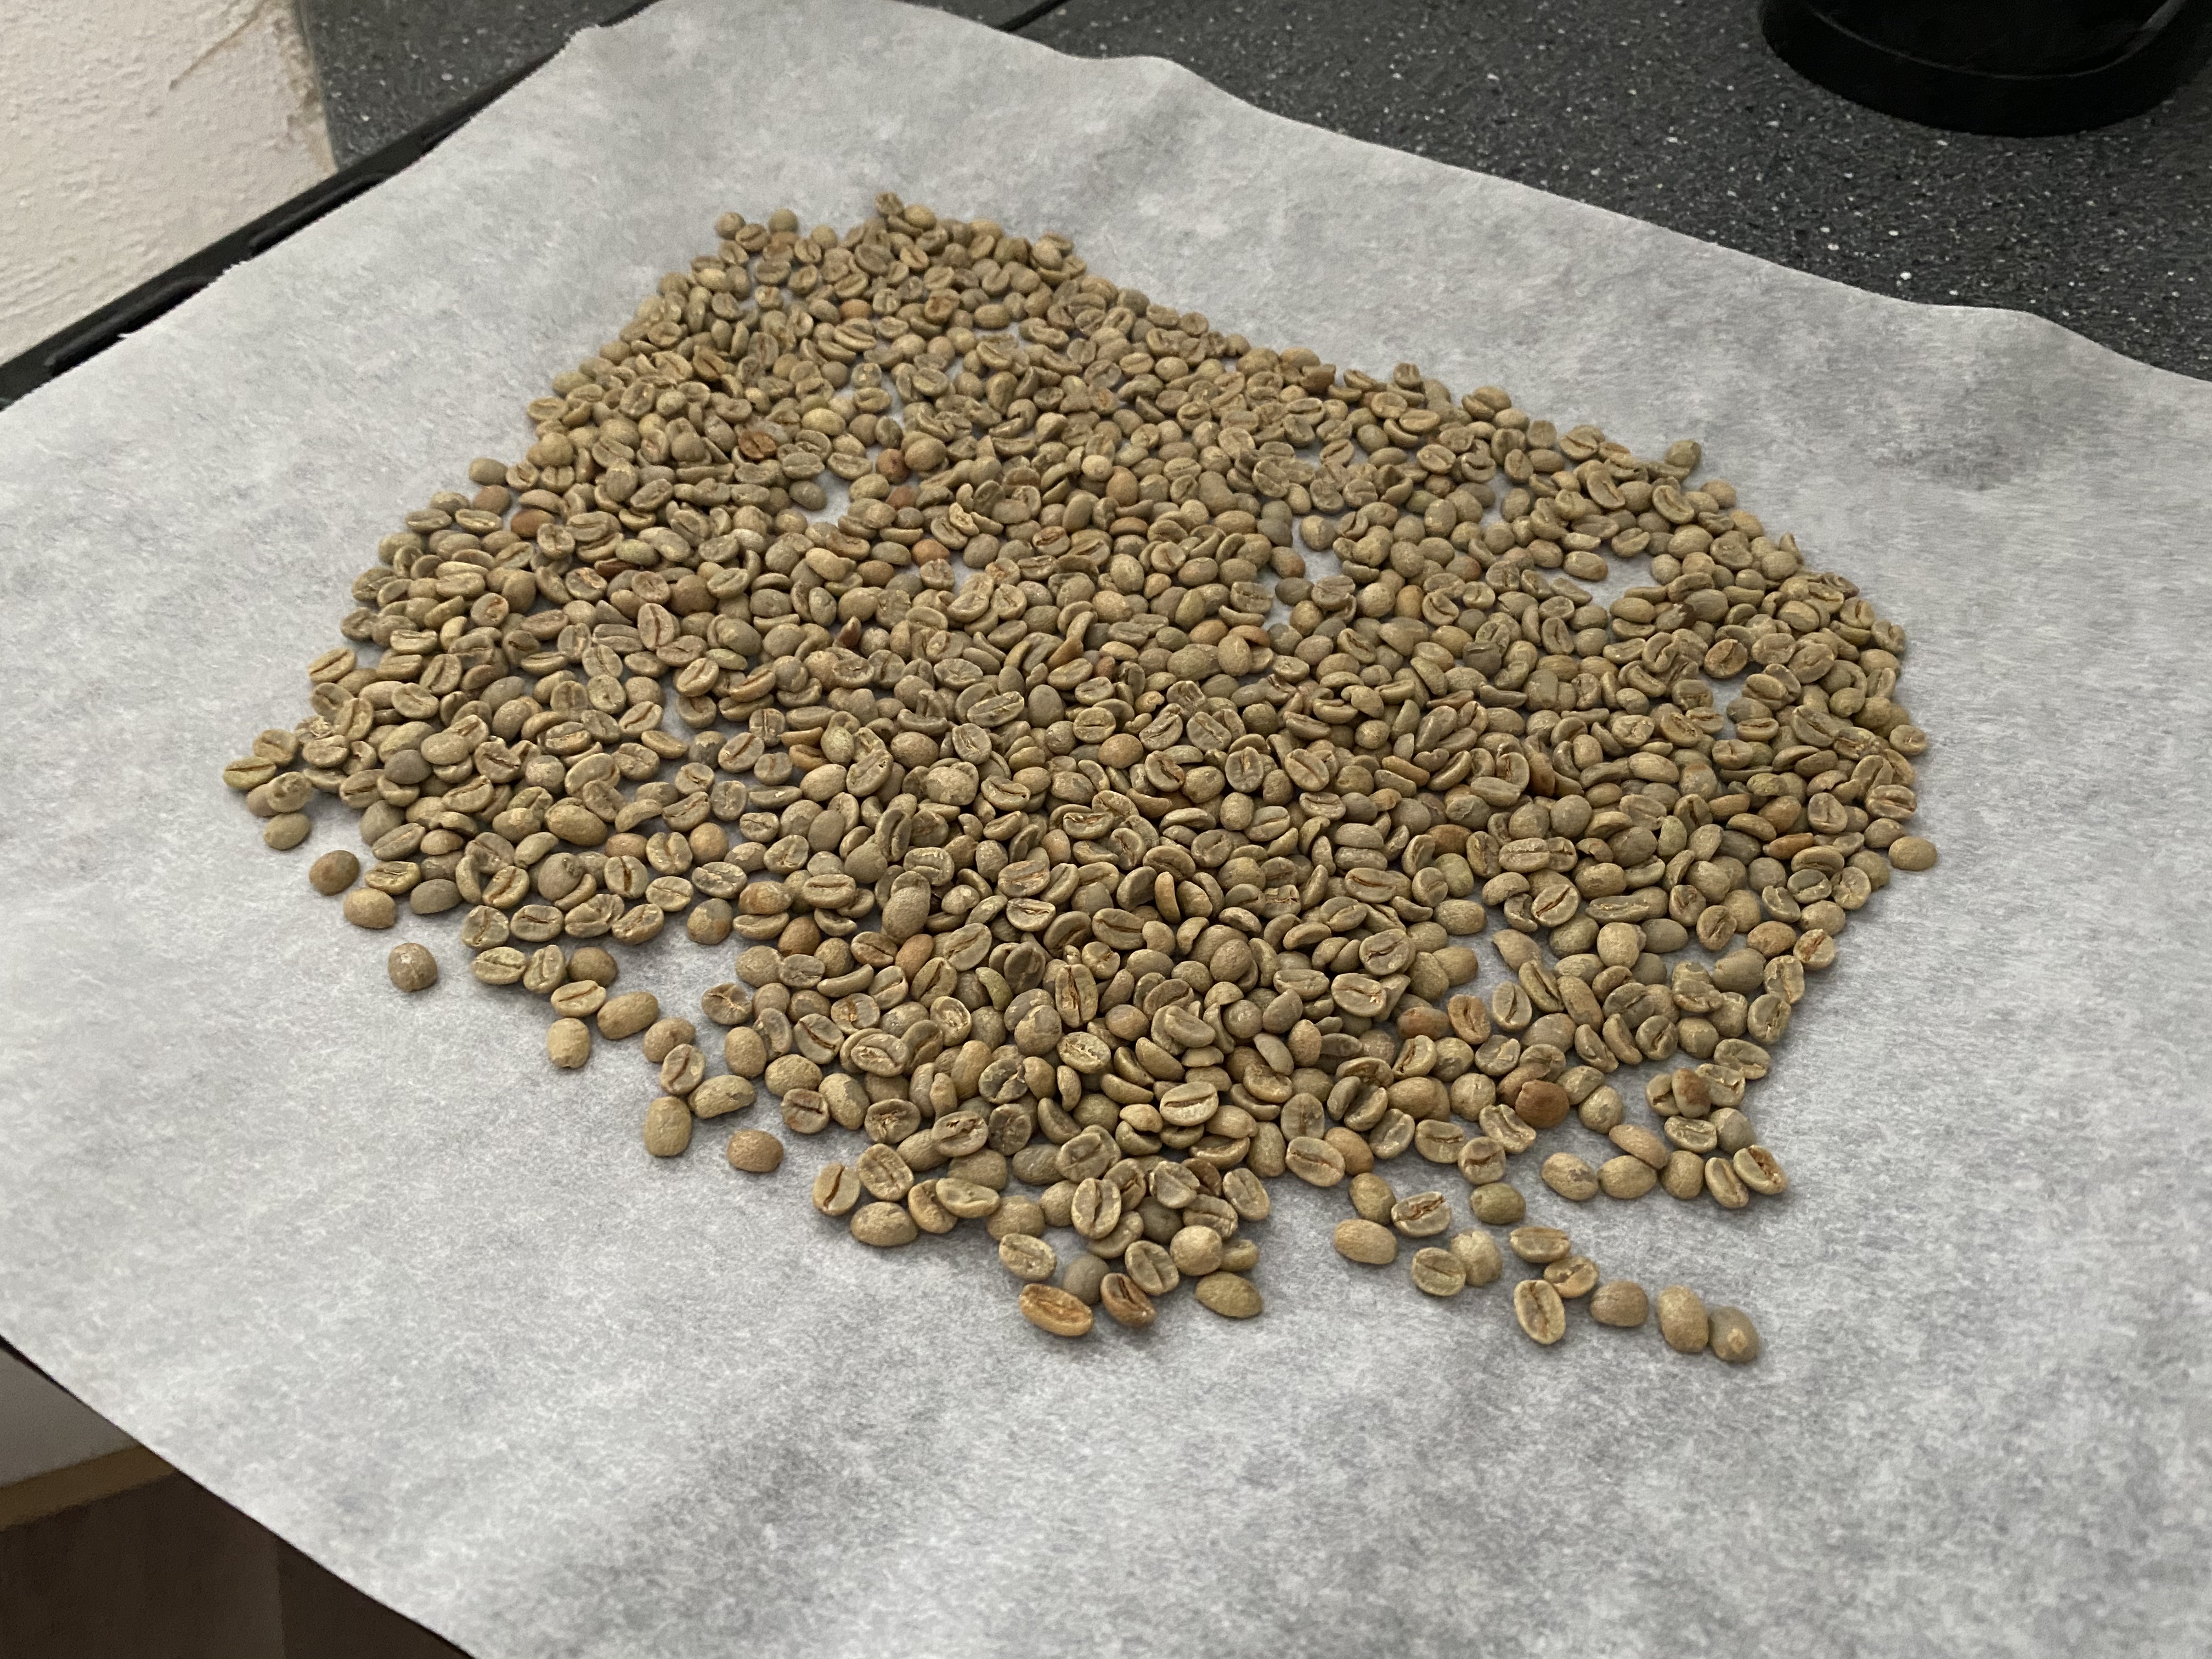
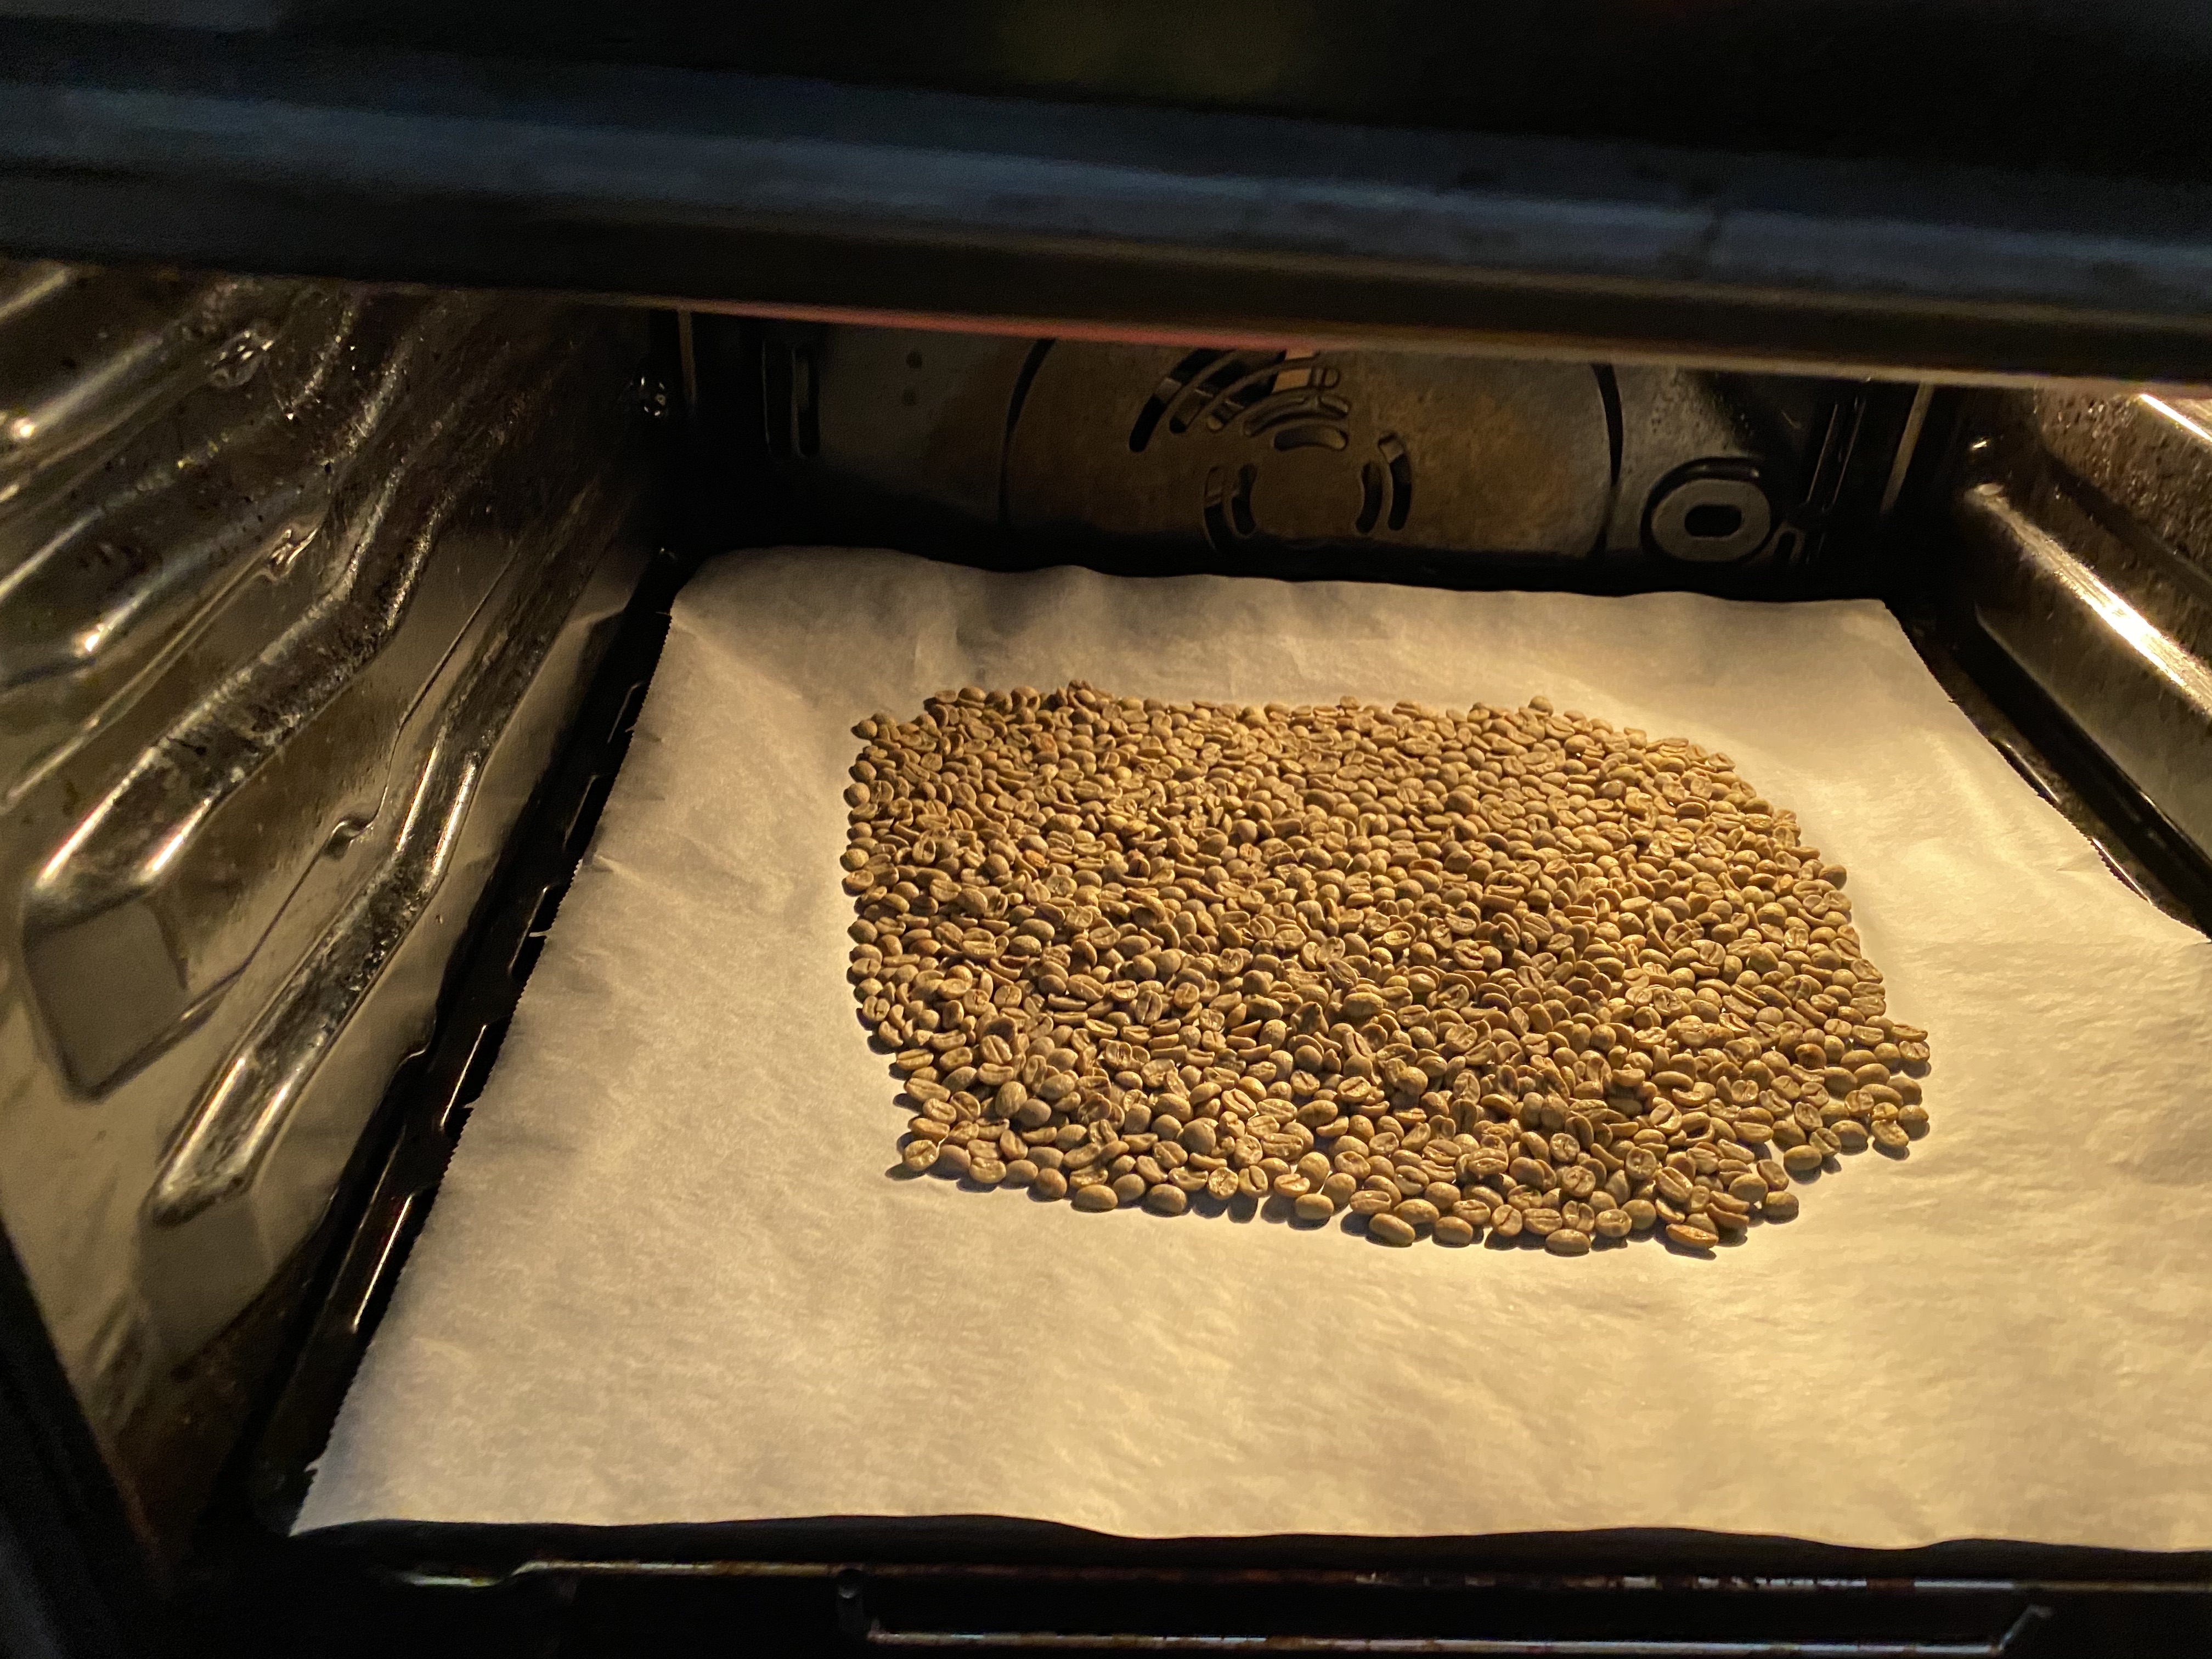
I used an oven plate covered with some parchment paper and added about 180 grams of green coffee beans on top of the plate (adding more is possible, but it will create more smoke which will linger in the house if you don’t have sufficient ventilation). My beans of choice for today are Brazil Yellow Bourbon, which are described as having a sweet body with some nice citrusy acidity. My other go-to beans that I usually get are Ethiopia Yirgacheffe.
Roasting
I put the oven to 190C, and added the plate with the beans without preheating the oven. This allows the coffee to slowly come up to temperature (there’s a bunch of discussions on what kind of heat profile to use for what kind of beans, I just went with a simple solution that I find to work well with most beans).
Once the oven reaches 190C, let it sit at that temperature for a few minutes until the coffee beans start to get some color (for me this took about 4 minutes at 190C). Remember to open the oven every few minutes to stir the beans around for a more even roast. After they gain a bit of color, increase the temperature to 210C. Again let the oven get to temperature, and let the coffee beans sit for some time. At some point you will start hearing a pop-sound (it took about 15 minutes to come to this stage in my oven). This is called the first crack, the phase at which the sugars in the coffee start to caramelize. After a while the popping sound will start th phase out, signaling that you finished the first crack. At this point the coffee would have a light roast. I chose to go for a medium-dark roast, which means that I want to continue on to the next step, the “second crack”.
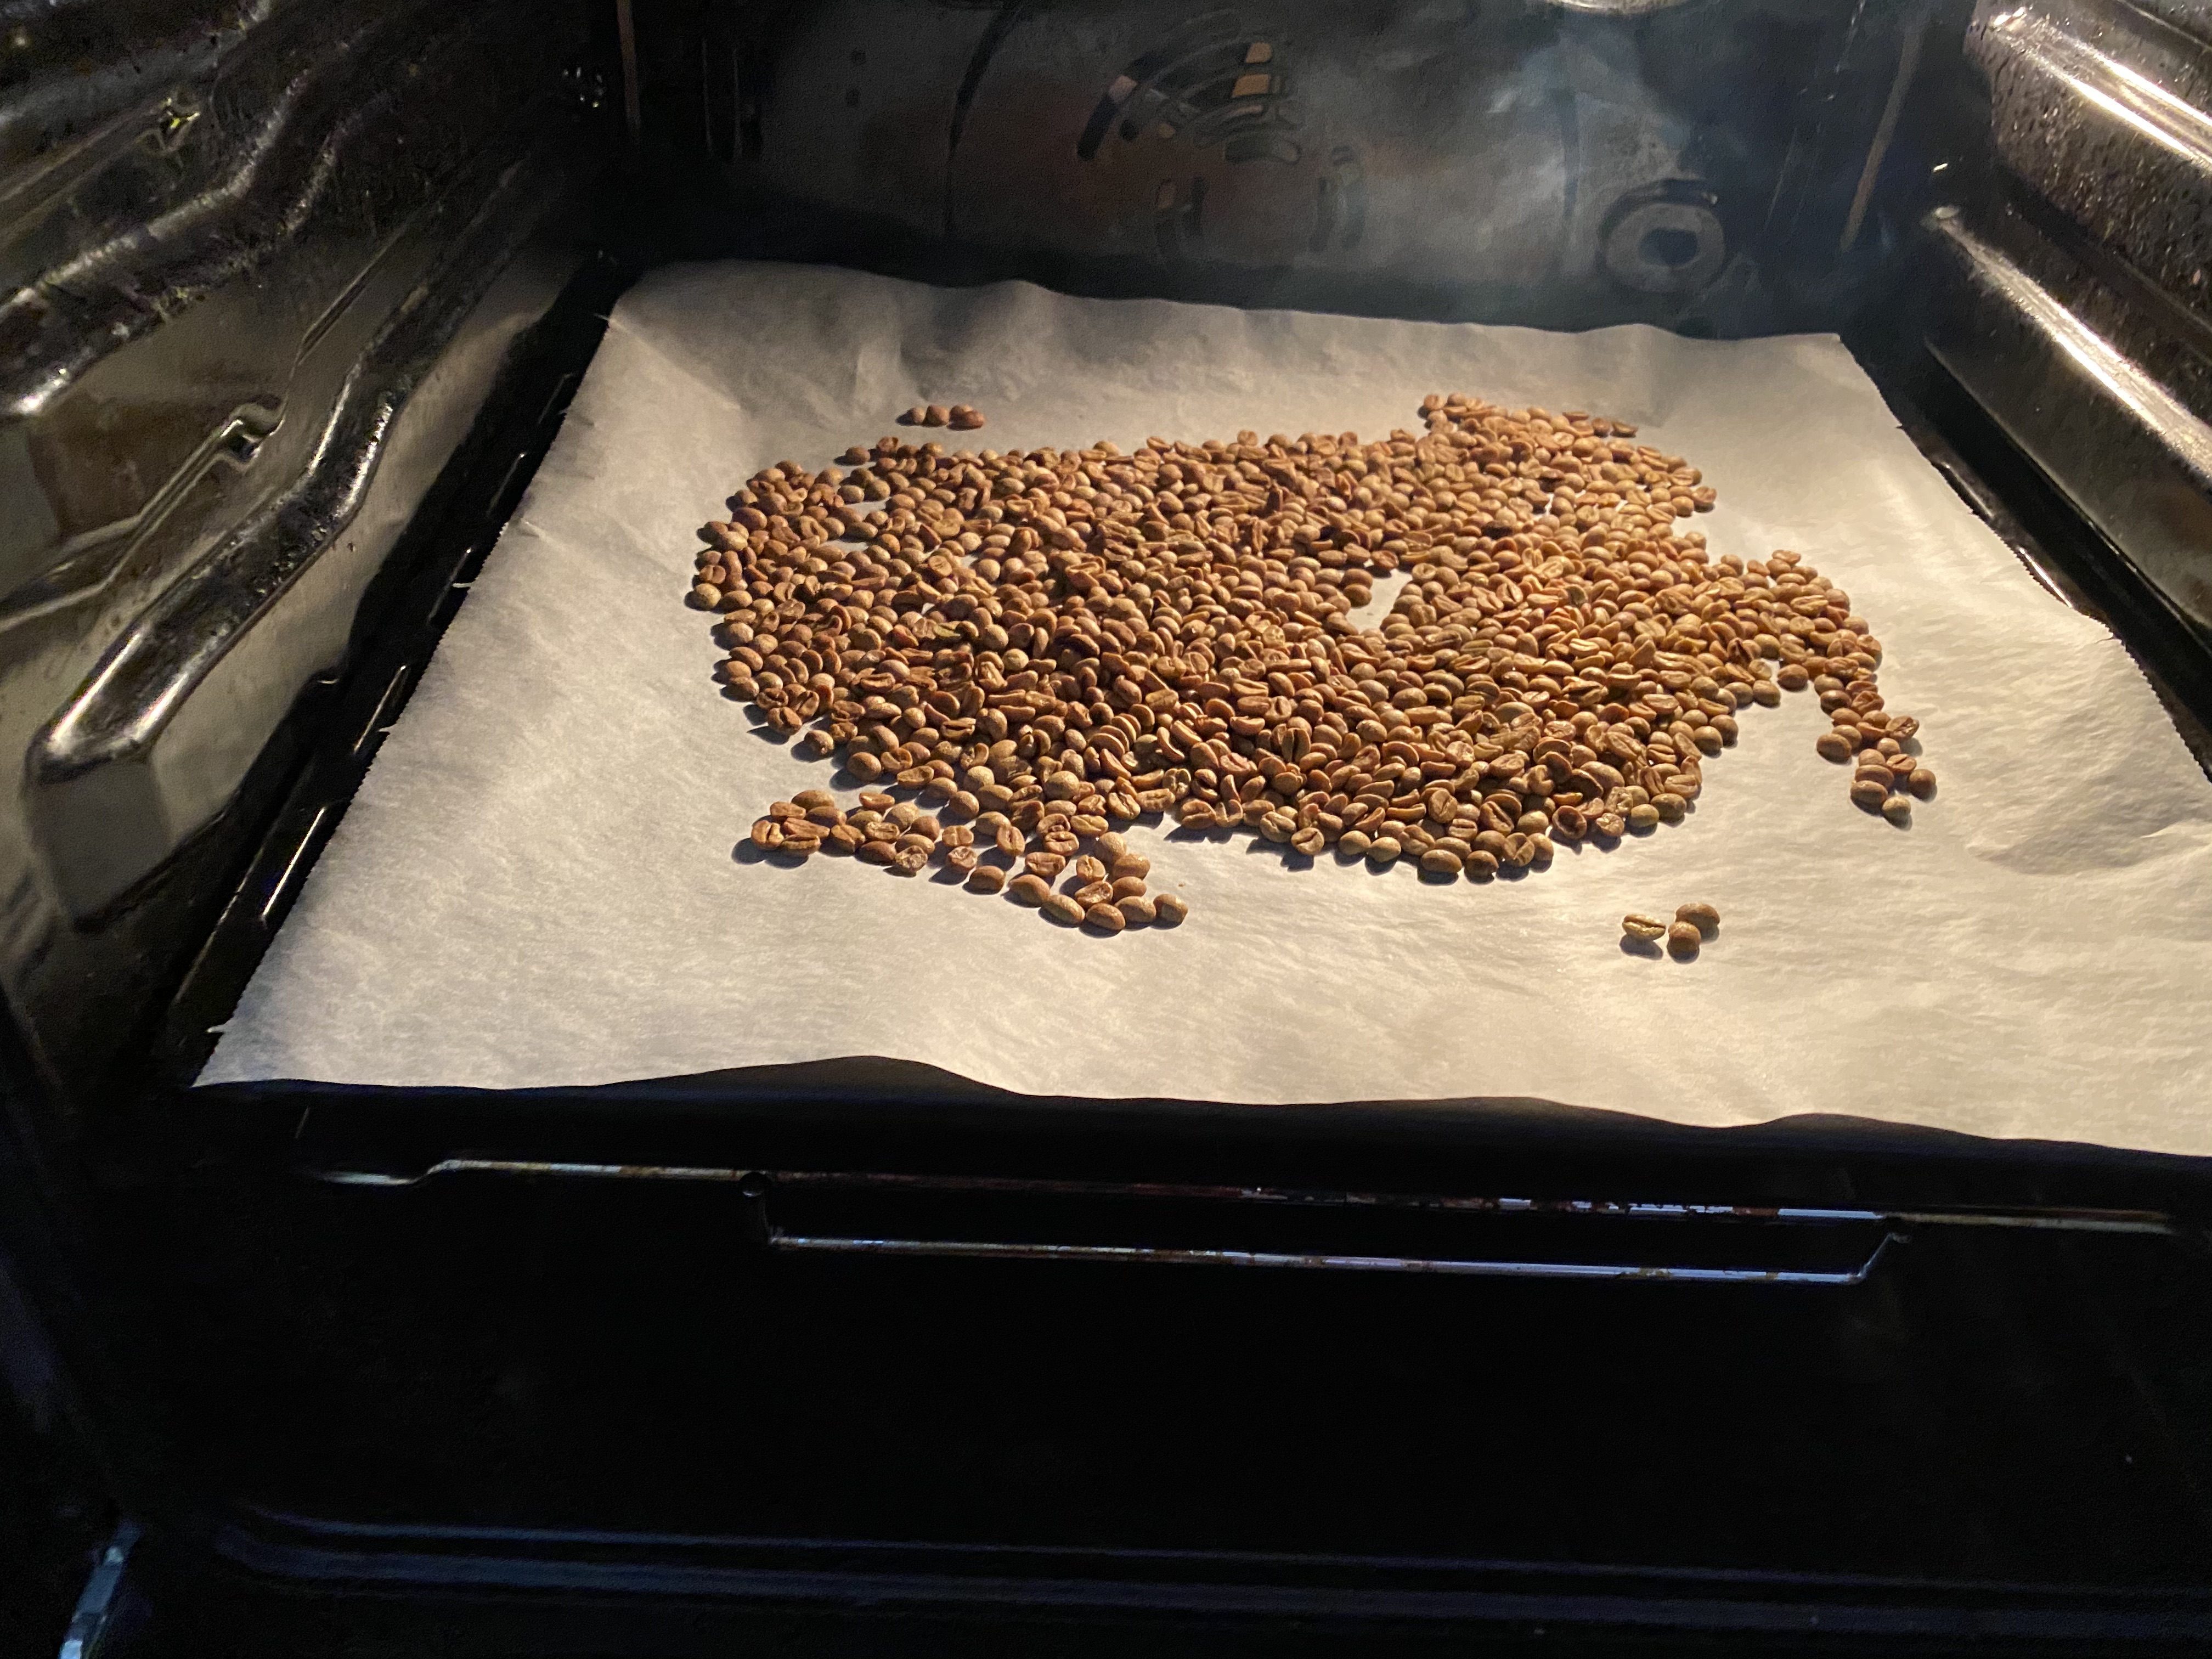
Increase to 230C, while carefully observing the beans. At this point the beans might create some smoke, so make sure to open the oven and stir enough times. Now just wait. You will see the coffee gaining that nice brown roasted coffee color.
Eventuallyy, you will start hearing another pop-sound. This one is a bit more subtle that the first crack, so listen carefully. At this point, if the color of the coffee is desireable you can remove the plate from the oven.
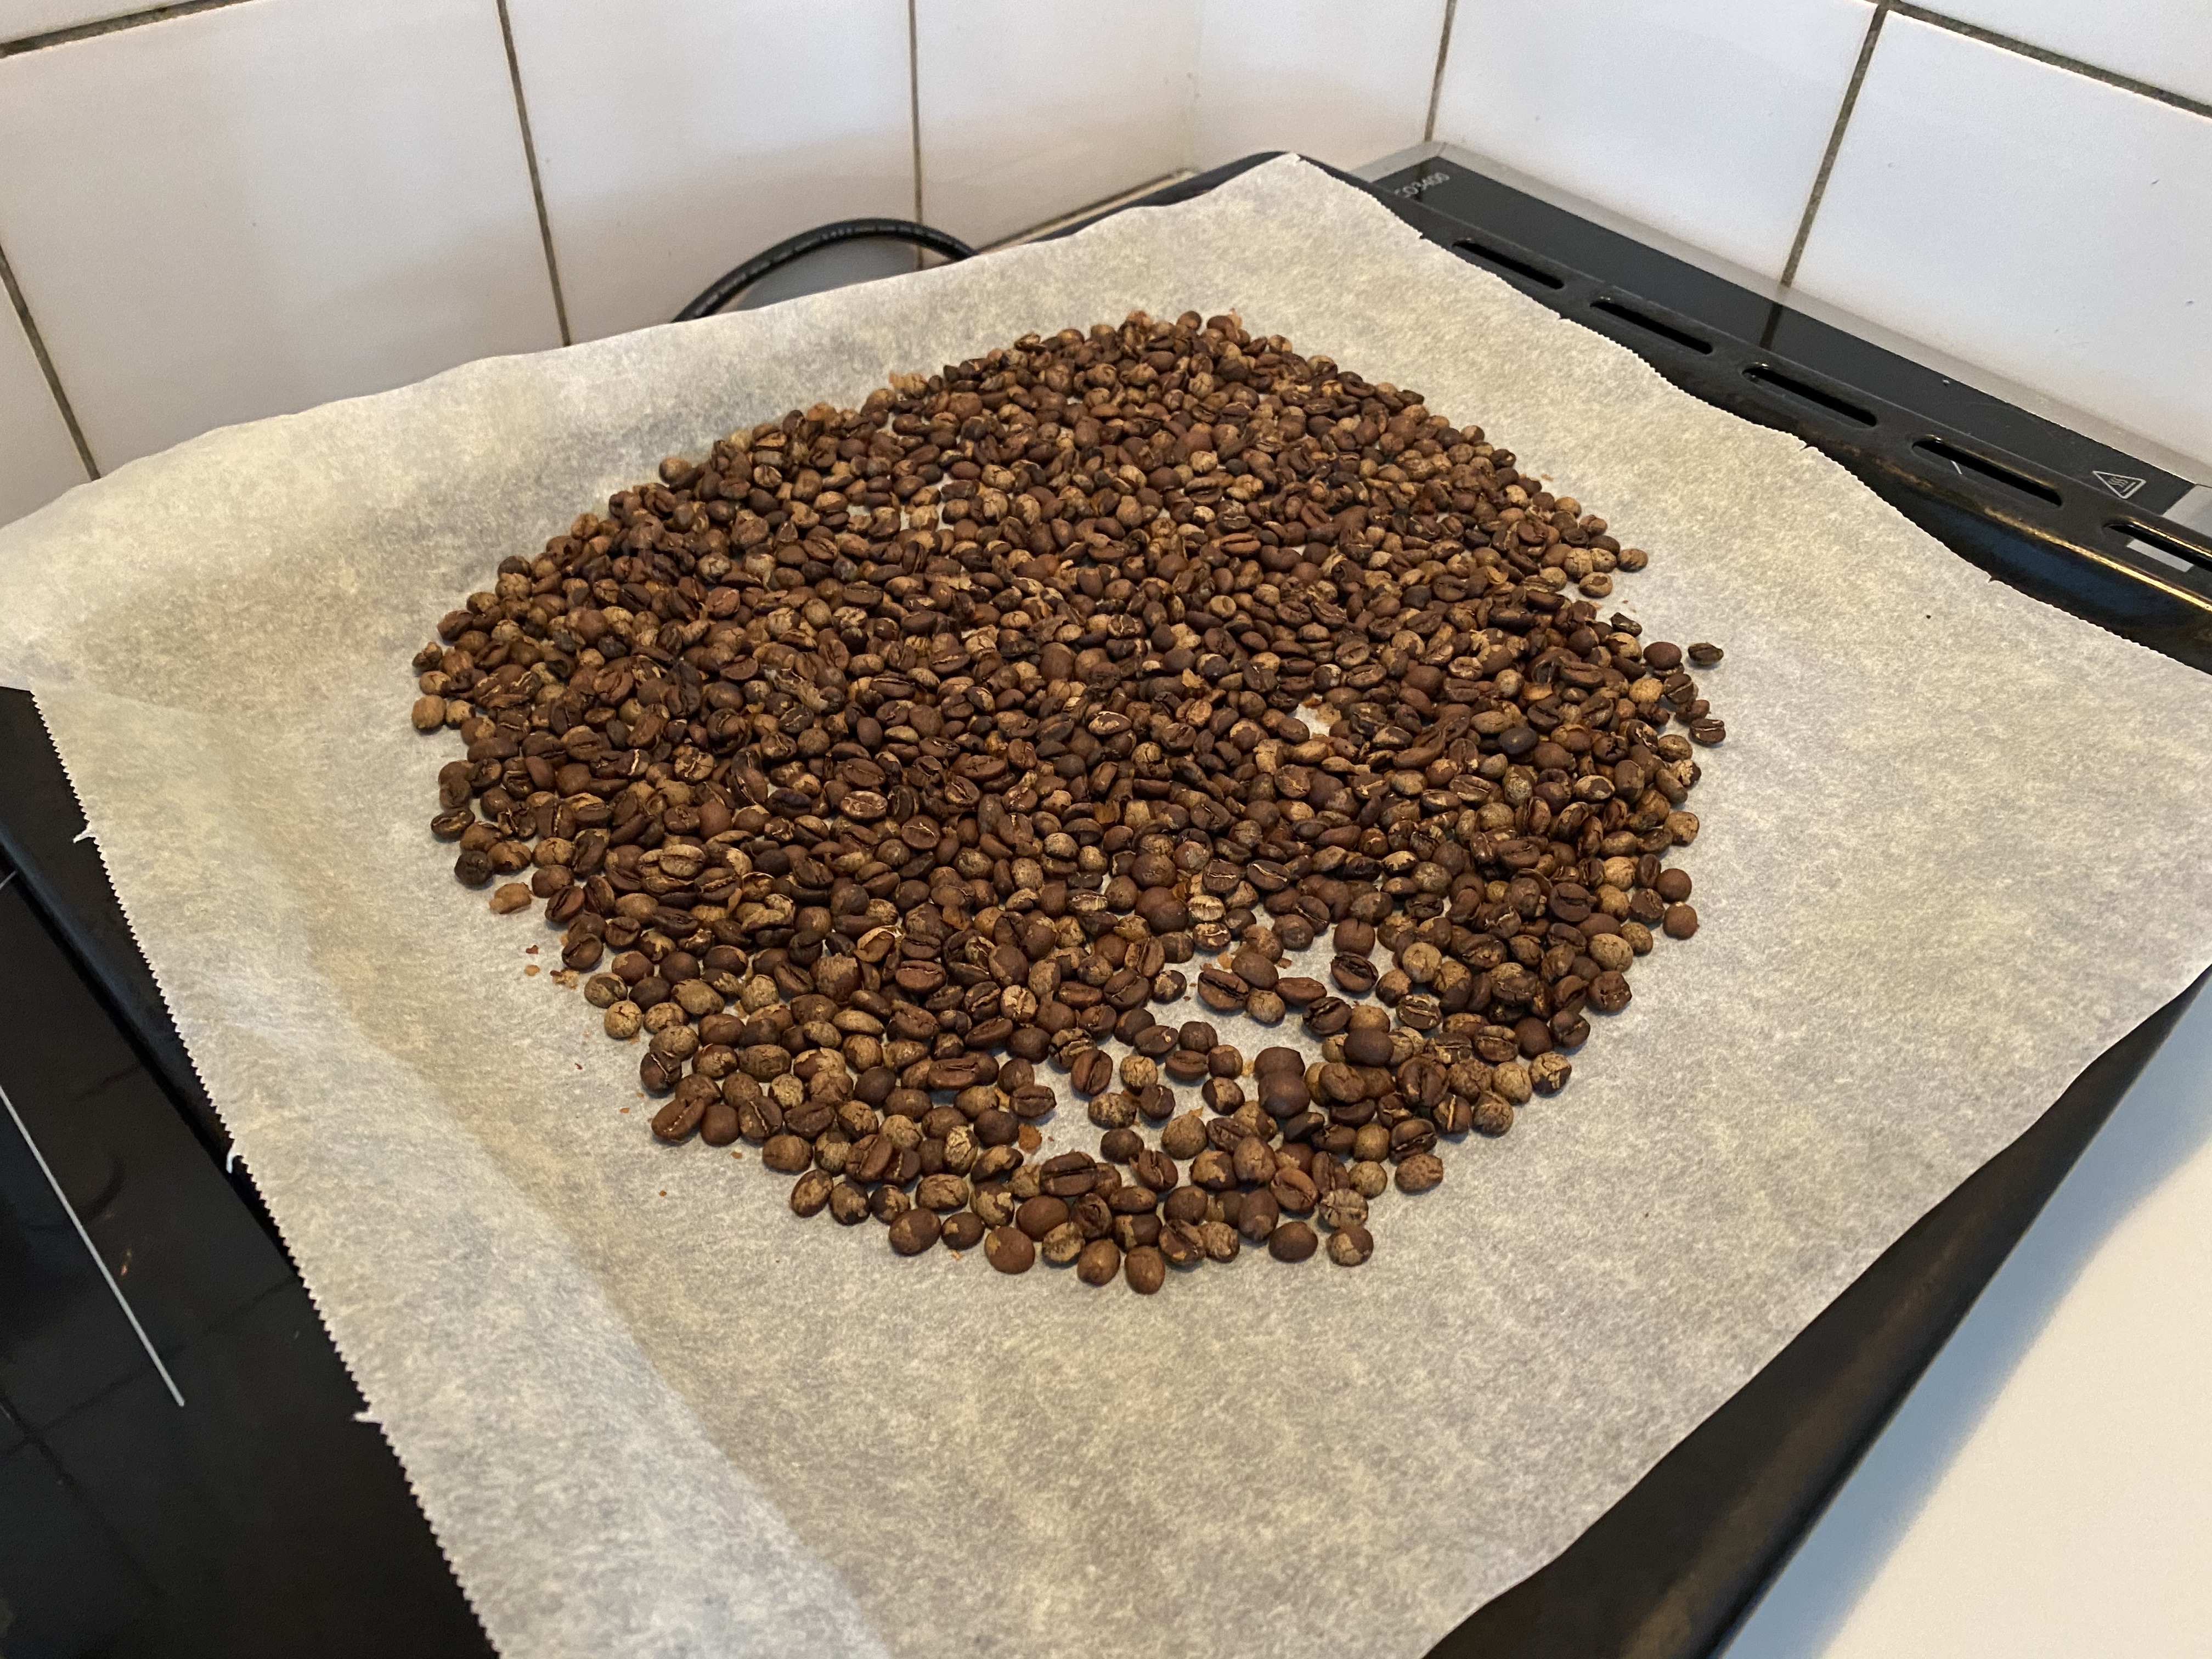
In my case, some of the beans were not roasted enough, and the darkest ones were not oily yet. Since I’m using an oven to roast, inevitable the roast will be a bit uneven. The important thing to note is that the beans that have the lightest roast in the batch should at least reach the first crack. If you want to go for a Starbucks-like roast, leave them in until they are oily and dark. In my opinion, this kind of “full-city” roast, kind of ruins the subtle flavors in the coffee. I prefer a more “nordic” roast profile, where you get the fresh and more acidic flavor profiles. In the end it boils down to personal preference. Just experiment with what you like!
I left the beans in for one more minute, and then remove the plate from the oven, leaving the plate to cool for a few minutes until I can handle it, and then moved the parchment paper with the beans onto another plate to cool down. If at this point the beans are a bit darker than you like, you should cool them off quickly (since they retain heat and will continue roasting). Use a newspaper or even a fan to create some air circulation to help your beans cool down.
Finishing up
Finally, we get to the post-roasting step, to get them ready to be consumed! Here you remove any debris that was created. Also look that there’s no other stuff in your coffee (I have found the occasianal small stone in there, which will definitely break your coffee grinder). The beans I used, did not create a significant amount of debris, so there was no need to get rid of them. However, some beans can have a large amount of debris, that you probably don’t want in your finished ground coffee. You can remove these by putting the beans in a jar an shake well, or shake the beans in a coliander.
After everything has cooled down, I add my coffee into a jar. Make sure to not close the lid completely! Fresh coffee produces a bunch of CO2, which could potentially make your jar explode (this is also the reason why coffee bags often have that one-way vent in them).
The coffee is ready for consumption immediately, however, I usually prefer to wait a day for the biggest part of CO2 to be be released, since the coffee can create too much bloom/ crema otherwise.
Now just grind it up and enjoy your fresh coffee!
Resources for buying green beans:
- https://www.ongebrand.nl/
- https://www.simonlevelt.nl/yellow-bourbon-ongeroosterd-2
- https://www.coffeebeancorral.com/categories/Green-Coffee-Beans.aspx